Booking your venue is a huge feat! You should celebrate checking this item off your list and then get back to business on these next items on your to do list.
1. Book your vendors
Great vendors can book up quick so jump on this as soon as possible. Here is a list of services you may want for your special day:
- Photographer/Videographer
- Band/DJ
- Food and Beverage Caterer
- Hair and Make Up
- Rentals
- Florist
- Hotels and Transportation
It is important to be aware of the costs involved in the planning process so you can avoid any hidden expenses or surprises on the wedding day.
2. Finalize your guest list
How many guests can your venue accommodate? Typically, between 75-85% of your guests will return their RSVP with an “Attending”! Think through your guest list and try to make your best guess as to where you’ll fall on this range. With this number in mind, you can invite more guests than what your venue can accommodate as long as you feel confident that you’ll end up below the venue’s capacity. Also keep in mind that you want your venue to feel full but not too full. Guests should be encouraged to mingle and move around the space without feeling crowded.
3. Create your wedding day timeline
Don’t forget to consider the best times to take photos! You may hear photographers talk about the “golden hour” which is one hour before the sun sets. The golden glow the sun creates makes for the most stunning photos. Our advice is to schedule your ceremony about two hours before the sun sets or if you’re planning a summer wedding, block out time to head outside for a later sunset. This way, you have plenty of time to make those everlasting memories.
You have your vendors booked and your ceremony time finalized. You’re doing great! You can now schedule out the rest of the day. Providing your vendors and wedding party a timeline of events is helpful to keep everyone on the same page and things running smoothly. Think through every vendor and event throughout the day. Work with your vendors to decide what time is best for them to arrive to start setting up. What time will cocktail hour be? What time will the reception begin? What time should the DJ or band start playing music?
There’s a lot to think about but it’s best to have a schedule prepared and sent out early to vendors, the venue and the wedding party so everyone can be prepared on the big day.
4. Go shopping!
It can take time to find the right dress or suit, order everything, and have it altered in time for the wedding. The sooner you start, the better.
Gather your best friends and family and go dress or suit shopping! You may want to invite your maid of honor or best man, your mom and/or dad, or your normal, trusted shopping buddy. Whoever you invite, you should trust their opinion and want them to be involved in the process.
5. Make your registry
This can be such a fun item to cross off the list! There aren’t many other opportunities to select gifts that other people will buy for you that will also match your style, kitchen colors, and you’ll get to use for years to come. Take an inventory of what you and your partner already have for your newlywed home. Does it need replacing or is it going to last? You can truly register for anything, there’s not a lot of rules but there are guidelines you should keep in mind.
Register for items that you both will use in your home together like an appliance, serving ware to host guests, items for shared spaces like the kitchen, bathroom or bedroom. Talk about your style as individuals and how that will come together in your home. What style do you envision for your home together? This will help you decide on what type and style of items you register for.
Select items that have a range in price. You want to be conscious of your guests and how much they are able to spend on your gift. Give them a variety of options falling between $25 to $250. This will make your registry more accessible for everyone. You can even register for gift cards so you can later purchase what you need in your first year of marriage.
6. Book your rehearsal dinner
Some wedding venues can also host your rehearsal dinner. This can vary based on date availability and the venue. If your venue is booked and cannot host your rehearsal dinner, no worries! A rehearsal is a much more casual event that you can have at a local restaurant, another venue location, or even your backyard. There are no rules as to what your rehearsal entails. As long as there’s space and food, your guests will be happy.
7. Get your invites printed and addressed
Your guest list is final, your venue is booked, your registry is done and your rehearsal dinner is set. Now that you have all the big details figured out, you can work on your invites! In the invite you should include:
- The time guests should arrive to the wedding venue. This should be about 30 minutes before your ceremony starts so guests have time to arrive, mingle, find a seat and get comfortable for you walk down the aisle.
- The venue details including the address, contact information, directions and parking details.
- Wedding registry information. Include a website link to direct guests to your registry for easy access.
- Include rehearsal information for only those that are in the wedding party, close family or out of town guests that you want at the rehearsal dinner.
Pick out stationary that matches the rest of your wedding theme and make sure you have the necessary information included.
It’s recommended to send out your invitations six to eight weeks prior to your wedding date. Ask for the RSVPs to be due one month before your wedding date.
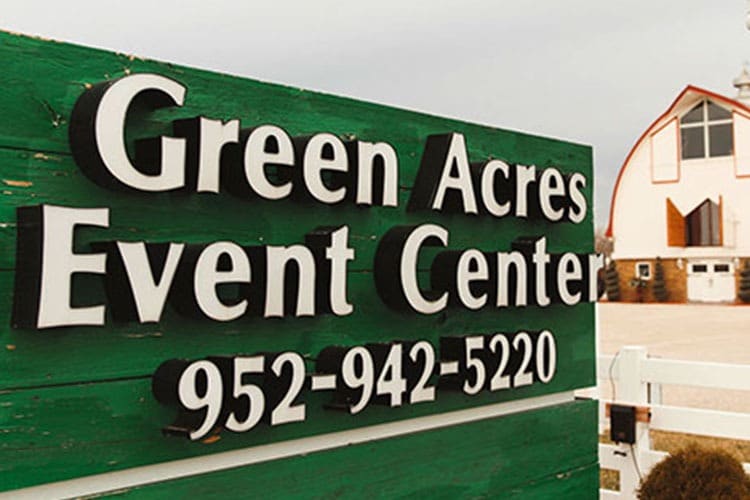
With these 7 things to do after you book your wedding, you’ll be well on your way to having the day of your dreams! At Green Acres Event Center, your dedicated venue manager can help you through the process of planning your wedding from start to finish.